Wednesday 12 January 2011

More models and textures

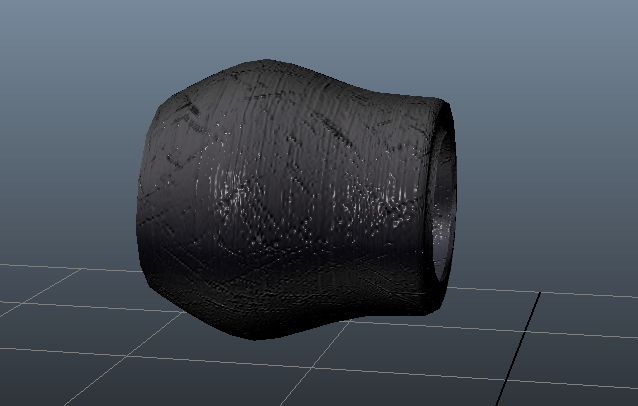
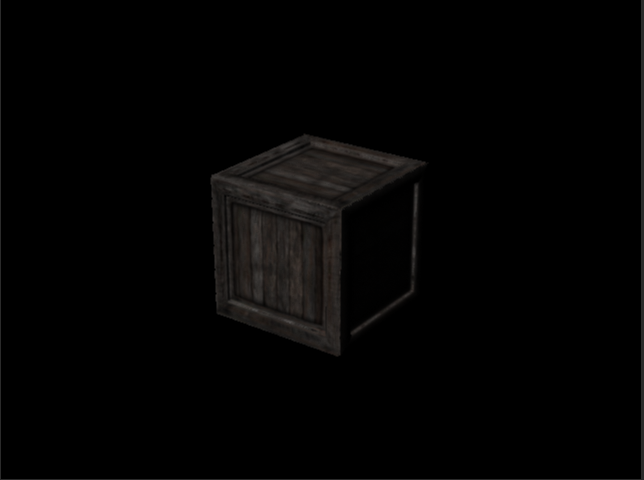
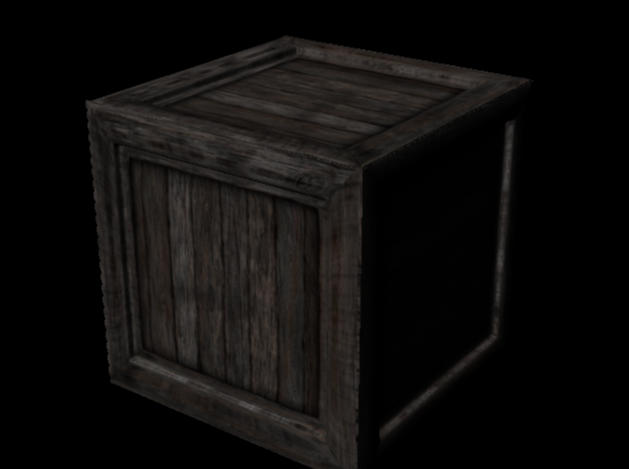
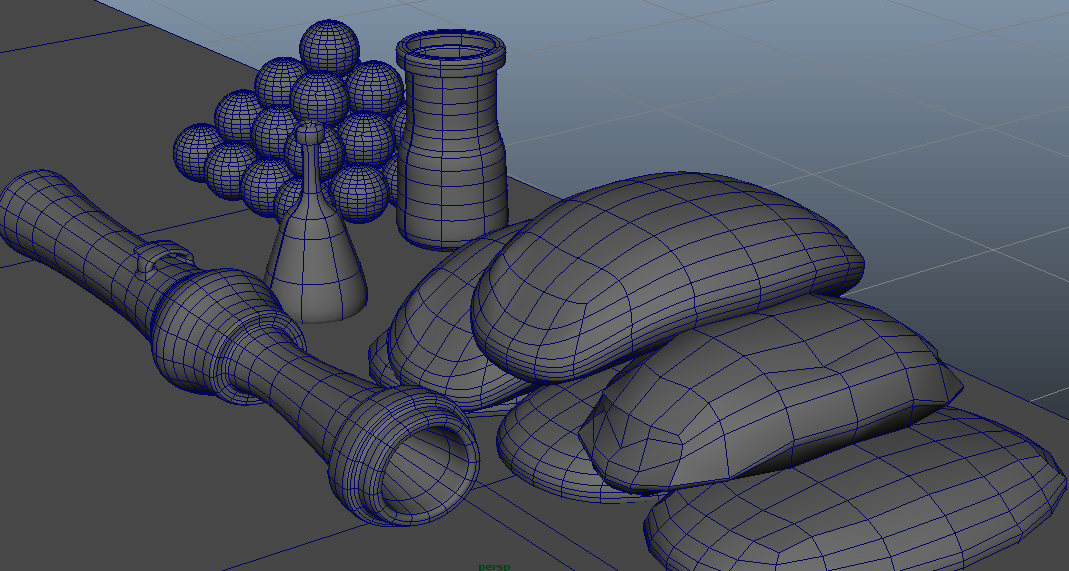
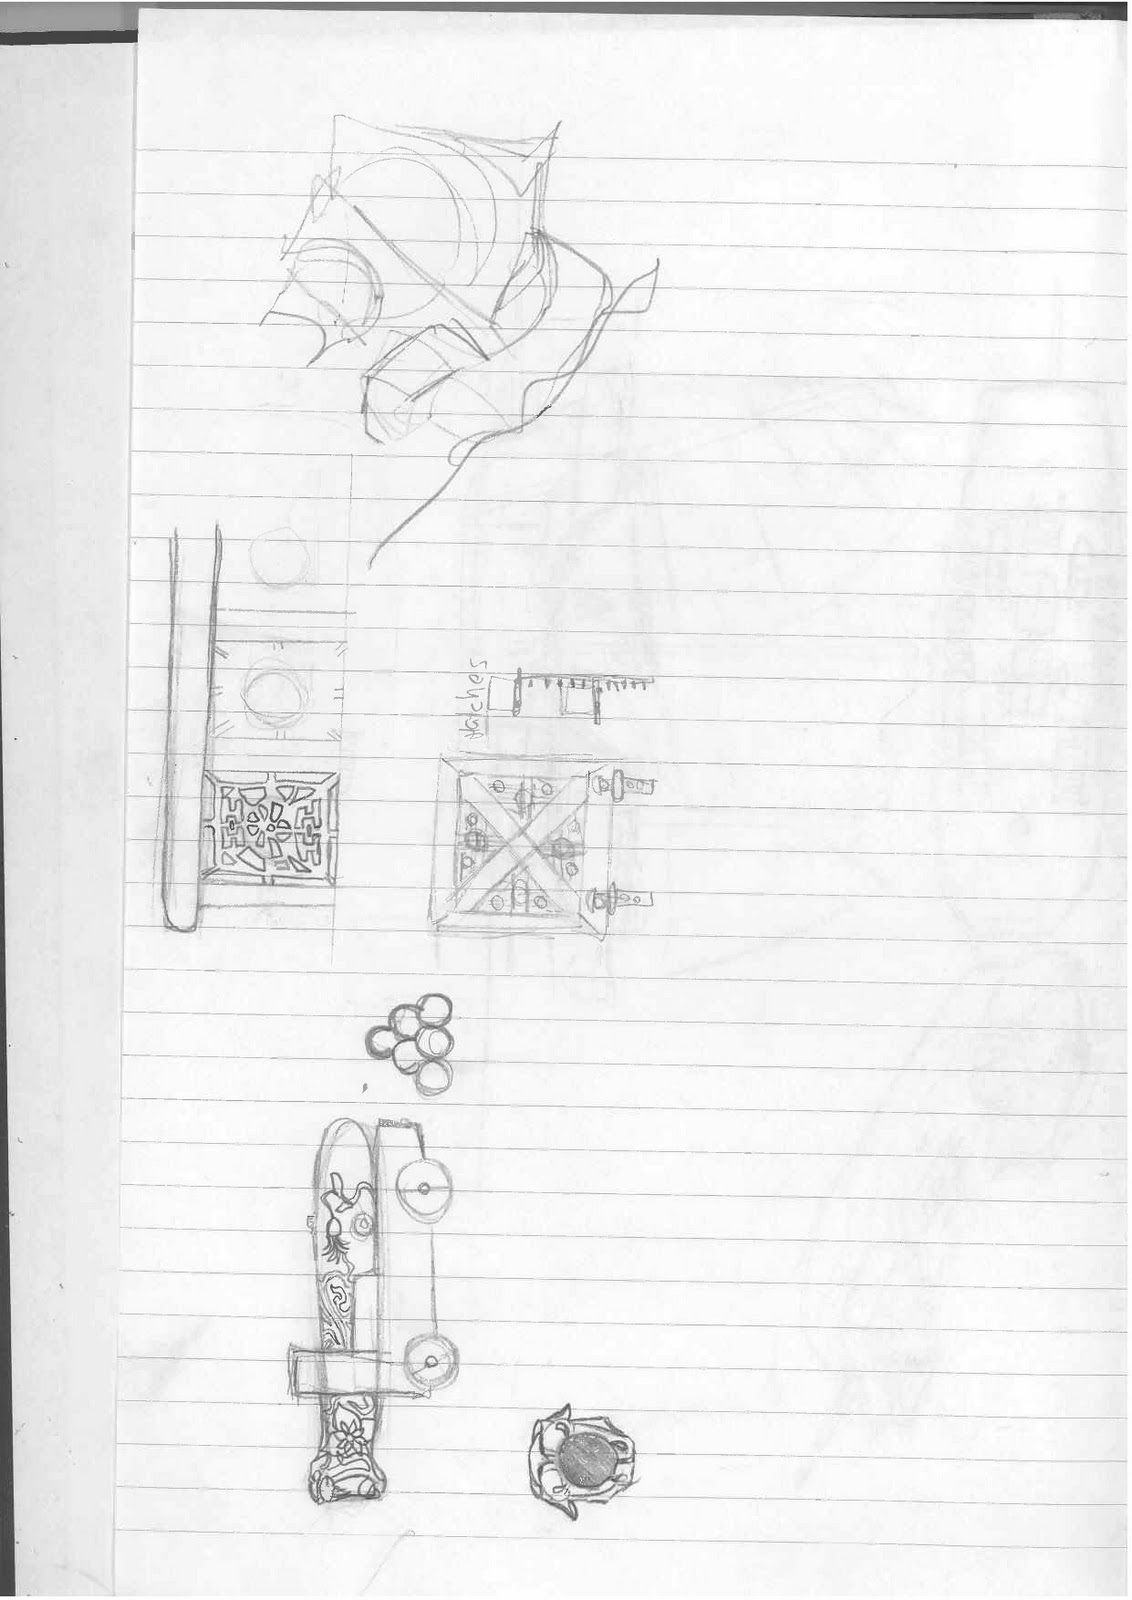
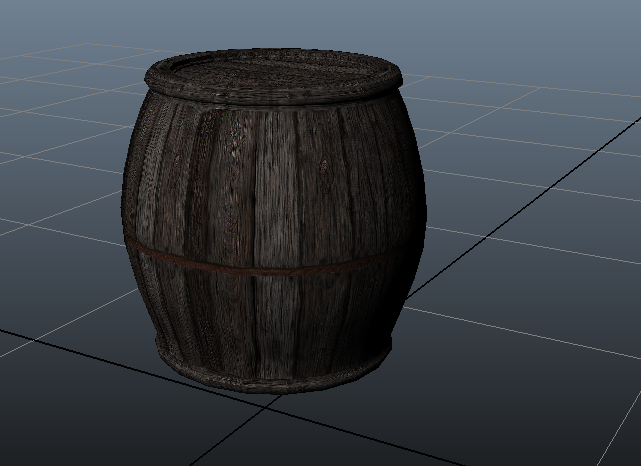
Barrel, we have also found that although ships had a very different design, some of the most common things like barrels crates and sacks where pretty much the same the world over, so i wasnt too worried about looks, o mainly concentrated on getting it to look realistic. I made a cylindrical map and then cut it at an edge, which i then unfolded, i used a planar maping for the lid.


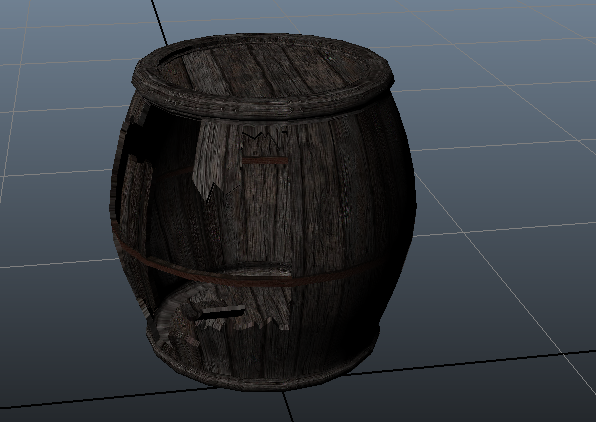
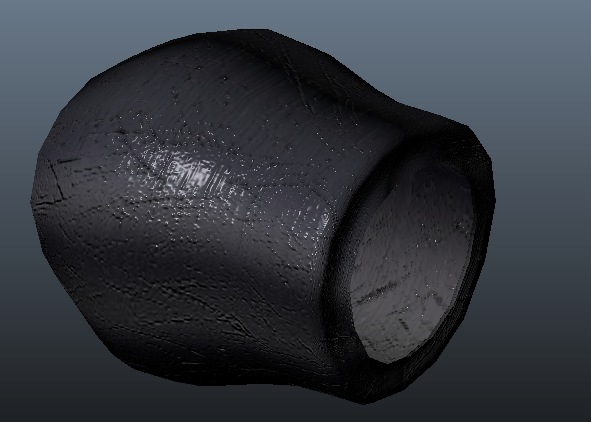
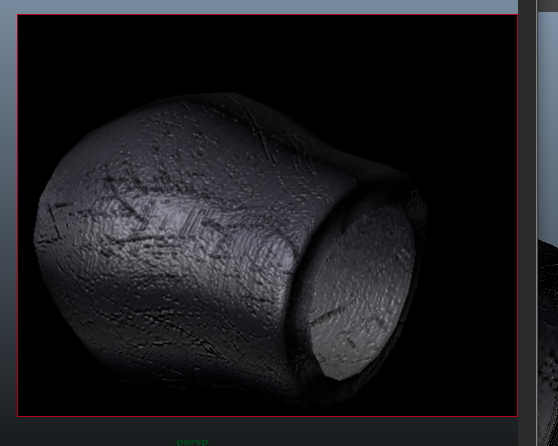
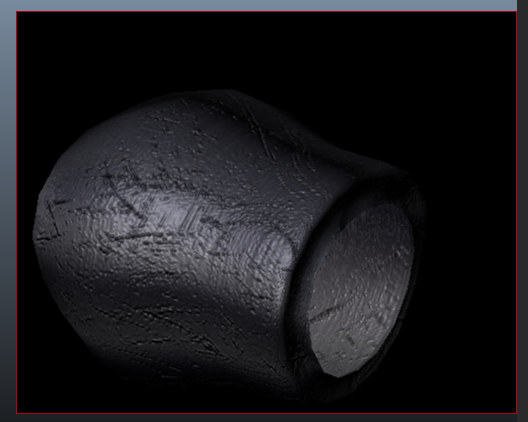
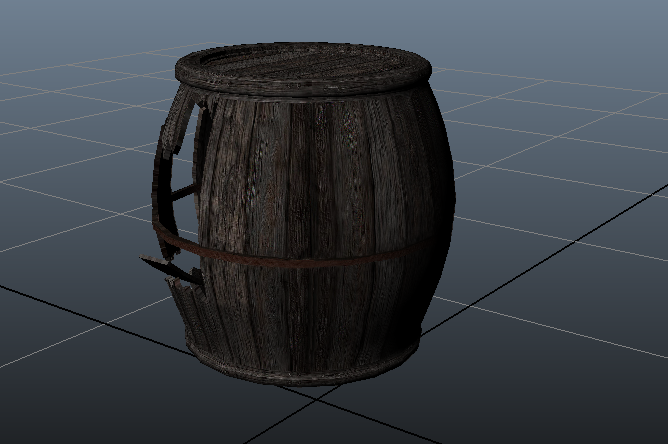
after i was asked to make a broken barrel, in which i deleted faces and added verteces to make the wood look splintered where it broke. then i selected the whole object and extruded it inwards to make it look solid,


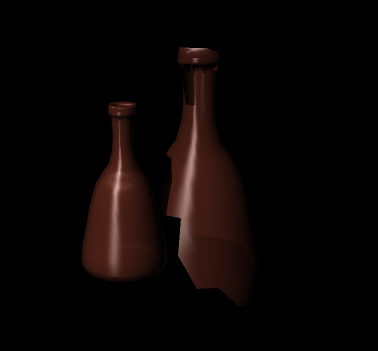
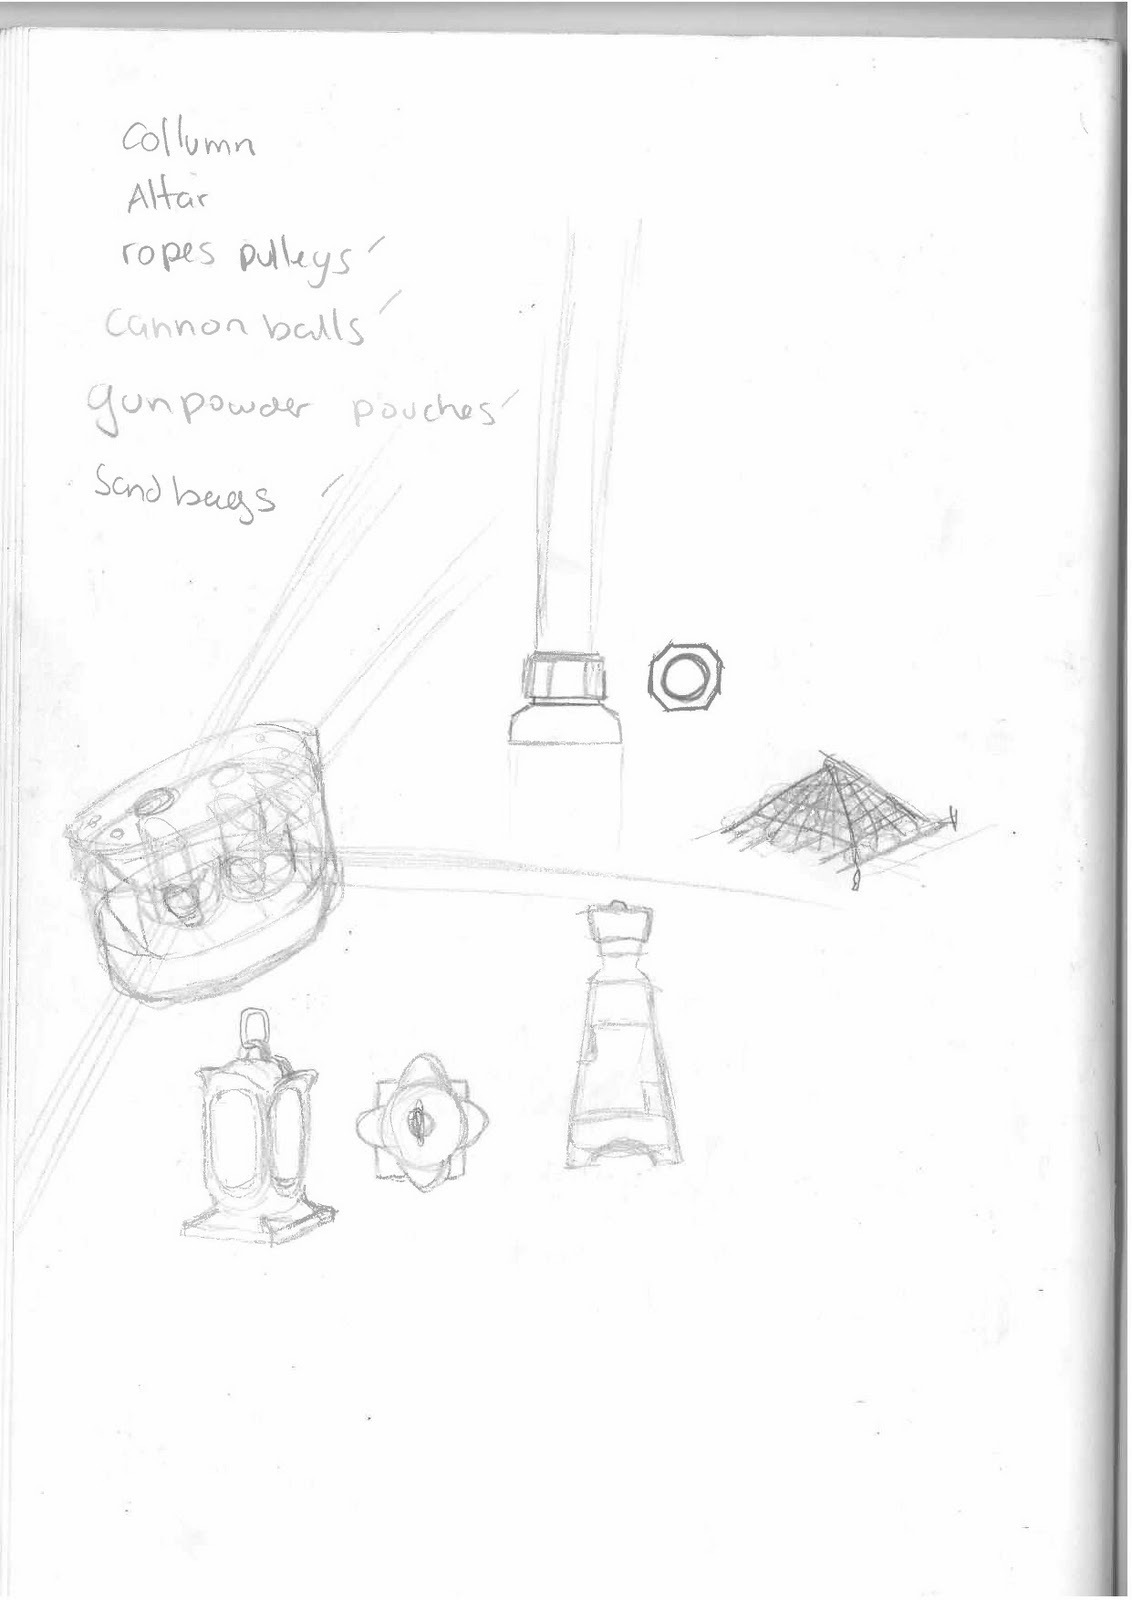
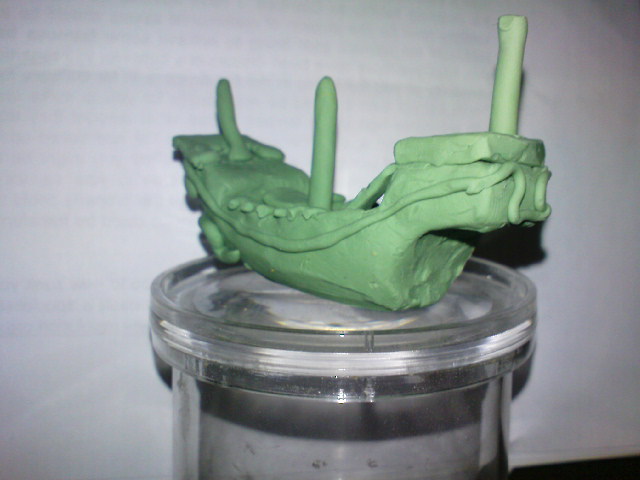
 For the bottles i modelled it in polygons, and then used the shatter effect, it looked really nice but when i came to add a shader it looked wierd as the shattered effect broke the inside and the outside meshes at different parts. so i left just the inside bit and then extruded it inwards.

Tuesday 11 January 2011

UV mapping and Bump mapping

Mortar
I found a really nice texture image for a gun barrel, and I wanted to try it out, so after modelling a simple mortar cannon i applied the texture, but it looked a bit too plain , so I added a bump map, 
a bit too little


way too much
perfect


Another thing i wanted to try out was the 3D scanner in the college, I had been warned it was too messy and awkward to use as the models needed massive ammounts of cleaning up, either way i wanted to see if I could scan a small junk model, it worked but there where a few areas that were not recorded properly by the laser, also the model had a very high definition, which caused problems when cleaning it up.
next time I have to make the models without hidden faces, as it was those that messed it up, also turn down the definition to about 1cm instead of half a cm, or maybe even more, this way even if i lose some detail, ill get a cleaner model to work with.


After making the ship I made a few more props

collums, with bright red pedestals and the main collum made of laquered wood.


The crate was one of the most challenging object I had textured so far, as it was the first time I used UV mapping, I started off by using a planar mapping, and then adjusting it to the mesh, then instead of having to do the same to all the other faces, I deleted them and duplicated the one i had made, and merged the edges.


I then wanted to investigate how mental ray worked, I used the metallic pain shader on the lamps I had made it added reflections and made it a lot more realiscit than the normal maya software.


I laso tried to add a small fire to burn inside, but it turned out more like a fairy glow from a Zelda game and it crashed my computer so i left it at that.

Monday 22 November 2010

Modelling

Lanterns
With the lamp i started with a simple Polygon cube and added a few edges, then I extruded a few times and then merged the vertexes at the top.


I made two different kinds of lamps one as they wouldnt use one design for the ship.


Pulleys


We had some trouble with reseaching the pulleys for junks as all of our reference picturs where from very far away, or too pixelated, so we watched Pirates of the caribbean : worlds end, where there is a junk, although we couldnt get such a good look at it we could see that they wernt too different from european designs, maybe they where better made but the basic shape was the same. 

Cannons balls and sand bags


The cannon balls where the simples object i modelled for obvious reason, but I spent a bit more time on the shader, I gave it a metallick shiny shader, with bits of rust in it, I also gave it a bump map.


I laso made a hand cannon, although we decided not to use it as there where not enough reference pictures avaliable in the internet.


bottles
To make the bottles I used a curve and revolved it to  make a Nurbs object, i then added a green shader and I upped the transparency to make it look like glass.

Tuesday 16 November 2010

Sail Rigging

i will be designing the rigging for the sails, attaching them to the ship.
mu team mate Greg has allready done some work on the sails( http://junkgregmartin.blogspot.com/2010/10/concepting-sails.html),and my job is to create workable designs to attach and control them. i have have already researched pulleys and other systems to controll the sails and lift cargo

Wednesday 10 November 2010

Objects


And here are some more research pictures from my trip to the Victoria And Albert museum in London.
A brazier used in ships. this will be VERY useful as we had no idea on how the kitchen worked, and we had assumed they made a stone chimney , but this would weigh a lot more and take up lots of space.
Japanese armour close up (liked the texture and thought it could be used somehwere)
Tea set
european locking mechanisms
Arabian astrolabe (Arabic scholars where at this time world famous for their knowledge, and there is proof that the Chinese used Arabic navigation technology)

Deck

Tuesday 2 November 2010

Concept art

After doing my research I can now start using it to make my own ideas. The section of the ship I am working on is the Sleeping quarters for the sailors, I imagined this to be a hold deep in the ship, packed full of hammocks (take up less space and copes better with swaying of the ship than beds), I made two rows of hammocks on either side of a middle corridor, with two tiers of hammocks.

I will place personal belongings of the sailors tied to beams , below and on their hammocks and above hanging from the roof, this will give it a really cluttered claustrophobic look, although i will have to pre plan my shot so I don't do unnecessary work that wont be seen in the final video.

I'm also starting to make concept drawings of the sleeping area, to give my team-mates an idea of the feel i want for it, especially when the person doing the lighting and texturing gets to it.


Wednesday 27 October 2010

Research

Now that we have done a bit of research into the basic shape of the ship, we have discussed the roles we want to do.
I will be a Concept artist (and i will work on the blue prints of the ship)  and will also do some modelling,
my other team mates will also do modelling, animating,lighting texturing and other jobs.

I have started with a basic plan for the ship , not bothering to add any objects , simply making sure the ship inst a death trap if it burns or sinks, (clear walkways throughout) and the main thing I am doing  at  the moment is getting bits from everyone research into one concrete idea, i have done a few blue prints:

pic to be inserted!!

And also a small plasticine model to help our main modeller: