Mortar
I found a really nice texture image for a gun barrel, and I wanted to try it out, so after modelling a simple mortar cannon i applied the texture, but it looked a bit too plain , so I added a bump map,
a bit too littleway too much
perfect
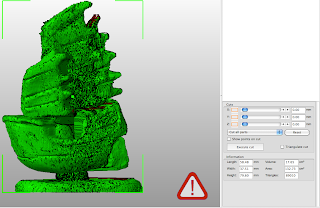
Another thing i wanted to try out was the 3D scanner in the college, I had been warned it was too messy and awkward to use as the models needed massive ammounts of cleaning up, either way i wanted to see if I could scan a small junk model, it worked but there where a few areas that were not recorded properly by the laser, also the model had a very high definition, which caused problems when cleaning it up.
next time I have to make the models without hidden faces, as it was those that messed it up, also turn down the definition to about 1cm instead of half a cm, or maybe even more, this way even if i lose some detail, ill get a cleaner model to work with.
After making the ship I made a few more props
collums, with bright red pedestals and the main collum made of laquered wood.
The crate was one of the most challenging object I had textured so far, as it was the first time I used UV mapping, I started off by using a planar mapping, and then adjusting it to the mesh, then instead of having to do the same to all the other faces, I deleted them and duplicated the one i had made, and merged the edges.
I then wanted to investigate how mental ray worked, I used the metallic pain shader on the lamps I had made it added reflections and made it a lot more realiscit than the normal maya software.
I laso tried to add a small fire to burn inside, but it turned out more like a fairy glow from a Zelda game and it crashed my computer so i left it at that.


No comments:
Post a Comment